How To Take Better Photos of Your Children With Your iPhone
Simple, mum friendly tricks for capturing gorgeous memories without fancy equipment
Let’s face it life with children is a whirlwind of snack demands, unexpected giggles and fleeting moments you wish you could bottle up forever. But what if I told you that you already own a powerful camera capable of capturing beautiful, professional looking photos of your little ones? Yes, I’m talking about your iPhone.
Whether you’re taking photos at the park or catching the cheeky bath time chaos, this guide will help you take better photos of your children with zero stress and no need for a ‘proper’ camera. I’ll cover practical settings, how to hold your phone, angles that flatter, how to get natural smiles (especially from wriggly toddlers) and a little magic which is my speciality called reportage photography. Ready? Let’s go!

1. Ditch the Pressure for Perfection
Before we dive into technical tips, let’s get one thing straight: perfect isn’t the goal. Real is better. A lopsided grin, muddy knees a tooth gap and wind swept hair tell the story of your child’s life better than any stiff “say cheese” photo ever could. So take the pressure off and focus on connection over perfection.
2. iPhone Camera Settings: What You Need to Know
Let’s start with a few basic settings that will make a big difference to your photos.
a. Use Portrait Mode for a Blurred Background
Portrait Mode (available on most iPhones from the iPhone 7 Plus onwards) mimics the look of a professional camera by blurring the background and keeping your subject sharp. It’s ideal for close ups of your little one’s face or when you want to eliminate busy backgrounds at the park or other babies or toddlers in a baby class.
Top Tip: Make sure you’re about 2–8 feet away from your child for Portrait Mode to work properly. Tap their face on the screen to focus, then hold your phone steady as you shoot.
b. Adjust Exposure Manually
Once you tap your child’s face to focus, you’ll see a little sun icon. Slide your finger up or down to brighten or darken the image. This is especially helpful when shooting in bright sunlight or backlit scenes.
c. Turn Off the Flash
Natural light always looks better on children’s skin. If it’s too dark, move near a window, step into the shade outdoors, or shoot during golden hour (an hour after sunrise or before sunset you can google when that will be in your area).
3. How To Hold Your Phone for Better Shots
Most of us instinctively hold our phone at eye level but children are much smaller than us! To get more engaging photos:
- Get down low to their level. Kneel, crouch, or even lie on the ground if needed. Seeing the world from their eye line creates more intimate and engaging images.
- Keep your elbows tucked in to avoid camera shake.
- Use two hands when possible or rest your phone on a stable surface.
For active toddlers, use burst mode (hold down the shutter button) to capture several shots really quickly. You can later pick your favourite.
These simple adjustments can turn an average photo into one that feels more ‘wow.’
a. Use the Rule of Thirds
Turn on the grid in your iPhone settings:
Settings > Camera > Grid (turn it on)
Then place your child’s eyes or face on one of the lines or intersections, rather than bang in the centre. It gives the photo balance and interest.
b. Leave Some Breathing Room
Don’t crop too tightly. Give your subject space to ‘move’ into within the frame, especially if they’re walking or running. It adds energy and story.
c. Mind the Background
Before you snap, glance behind your child. Look for clutter, bins, or random legs that might distract. A quick sidestep or adjusting your angle can make all the difference.
5. Babies & Toddlers: Capturing the Tiny Humans
Ah, the wiggly ones! Taking photos of babies and toddlers comes with its own set of joys (and challenges), so here are some top tips:
a. For Babies
- Keep it simple. Use a soft blanket or a plain bedsheet for a clean background.
- Face the light. This is the most important tip to consider. Position your baby near a window, with light falling across their face from the side for gentle shadows and depth.
- Use Portrait Mode for those delicious close ups of eyelashes, tiny toes or sleepy expressions.
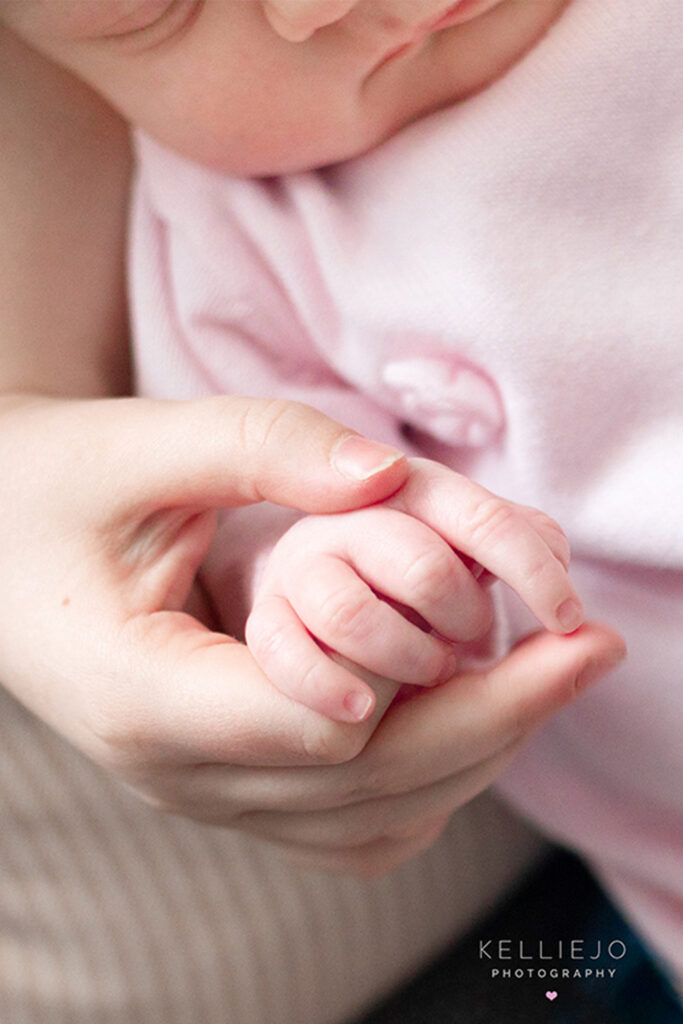
- Get in close. Details really matter capture those cute curled fingers, milk drunk smiles and chubby cheeks.
b. For Toddlers
- Make it a game. Ask them to find something, run to you, spin or dance. You’ll get movement and delight in one shot.
- Sing a silly song or make a noise. Forget “Smile!” and try “What does a lion say?” for real reactions.
- Photograph them at play. Building blocks, splashing in puddles, pushing a toy pram these everyday scenes are gold.
6. Angles, Distance, and Perspective
The angle you shoot from totally changes the feel of a photo.
- Eye level = connection. Great for portraits and drawing the viewer in.
- Above = modern. Perfect for tiny babies lying down, or when your toddler’s playing on the floor.
- Below = drama and power. Try shooting upwards as your child climbs a tree or jumps on the bed.
Play With Distance
- Wide shot – to show your child in their environment (e.g., standing in a field).
- Medium shot – waist up, perfect for interactions.
- Close-up – hands gripping a toy, messy mouth, little curls.
7. Moments Over Poses: The Magic of Reportage
Children are natural storytellers through their everyday actions. And some of the most moving photographs are taken when they don’t even realise the camera is on.
This is known as reportage photography my absolute favourite capturing real moments as they happen without prompts.
- A glance between siblings.
- A quiet moment reading a book.
- Muddy knees and big belly laughs.
Instead of asking them to look at the camera, try this:
- Sit quietly and observe.
- Let them play, explore and be in their own world.
- Keep your finger ready on the shutter.
- Capture the in between moments. That’s where the magic lives.
8. Little Extras That Make a Big Difference
- Clean your lens! Seriously. A quick wipe can dramatically sharpen your photos.
- Take more than you think you need. Children blink, wriggle and pull faces faster than you can react.
- Use Airplane Mode. To avoid distractions and give yourself full focus during your mini photo session.
9. Final Thoughts: Let Them Be Little. Capture their natural childhood moments.
The best photos are not the ones with matching outfits and forced smiles. The perfect ones are the ones that are imperfect! The ones that are not set up just stand here and smile at the camera. Let life unfold before your eyes that’s where you’ll get the realness that will reflect your little one’s personality.
You do not need a fancy camera or a Pinterest worthy set up leave that to me! You need your iPhone, a bit of patience and a willingness to see the beauty in the everyday.
Call To Action
Ready to start capturing those everyday magic moments like a pro? sign up to my newsletter to grab my free iPhone Photography Cheat Sheet for Mums a one page printable guide to keep in your phone or changing bag, full of these tips and more. Plus, get my monthly newsletter with photo tips and prompts for every season.
Because your child’s story needs documenting the best way you can and you’ve got everything you need to capture it right in your pocket.